Wednesday, October 3, 2012

Rainbow Birthday Party for a BIG 3 year old!

Our "baby" is turning 3 this week and we celebrated with a rainbow themed birthday party at our local park. We invited a few friends and family and had a great time (despite the hot, humid, Houston heat)!
I loved the idea of having all of these beautiful, bright colors all over and so I searched my favorite idea hot spot..........the one and only PINTEREST! I found lots of ideas and ended up with this:
 
I wanted everything bright and colorful. I started with rainbow cupcakes and found a great, easy recipe here. I followed her recipe for the icing too but was not a big fan of it. I'm not sure if I did something wrong, but it didn't look like the "pretty fluffy cloud" she showed in her pictures. And it didn't taste too well either. But I put some rainbow sprinkles on top and they looked pretty cute.
 
I also made Fruity Pebbles Rice Krispie Treats. They were easy to make and really colorful.
I also filled sand buckets with Lucky Charms cereal and rainbow Goldfish and used the shovels to serve them with.
 
I also used these same buckets as the guests party gifts. I personalized them by adding the child's name to it and filled them with rainbow colored suckers and an activity pack (coloring page for the boys and paper dolls for the girls). Then I tied a different colored balloon to each buck.
 
These buckets can be purchased through my Facebook site, Kitty Kate, here.
I pulled out my favorite party supply: The infamous double barrel drink dispenser and put blue Kool-Aid and red Kool-Aid in it.


Then I found a big bag of colorful straws at my local grocery store and lined up the cups with different colored straws.
So overall we had a pretty colorful table.
And no party is complete without the right outfit so of course we went to Lily Lane Kids to create our one of a kind, birthday rainbow outfit.

And I think our big THREE YEAR OLD (Wow! I still can't believe she is 3!) had a great birthday party. I love planning my girls' party, but I sure am glad once they're over!


Friday, August 17, 2012

No more Kitchen Cabinets

Every now and then I get these hairbrained ideas. Half of the time they don't turn out like I wanted, but this one I'm really happy with.


I saw a post recently on one of my favorite blogs (Emily A. Clark) about her kitchen cabinet makeover. She is an interior designer with FIVE kids (um, can we say super mom?!?!) and I just LOVE her style and ideas. I have been trying to figure out what to do with this broken kitchen cabinet door of ours since we moved into our house almost 2 years ago and loved her idea. You see, we got a great deal on our house because it was a foreclosure. And while this house had nothing on some of the nasty foreclosures I had seen before, it did have a few "imperfections". One of those being the cabinet in the kitchen that looked like someone had gotten mad and punched it and left a big crack running from top to bottom.

I thought about just replacing the cabinet, but I wasn't sure how much that would cost. So I thought maybe we could cut out the middle and insert some glass. But that sounded like a big job and I wasn't sure if it would work. On Emily's project here she took off her cabinet doors and then painted the back of her cabinets. But my cabinets are the mass produced, factory made, pick out at the home improvement store and slap them on the walls kind of cabinets so there is "fake wood" (aka plastic) on the back and paint wouldn't stick. So I had the idea to use my vinyl I use for my Kitty Kate products in a different way!

I cut out 4 pieces of removeable vinyl and adhered them to the back of the cabinets. Sounds simple right? Not exactly! It took me a good hour and a half to get it all cut and applied and I had a few bumps along the way but once I got going the easier it got.

Here is what they looked like once I took the cabinet doors off (Sorry I didn't get a before shot of how it all originally looked. I ALWAYS take a before picture and somehow it slipped my mind this time). So I took the doors off, found all of my pretty, color coordinated dishes and things and decided where I wanted them on the shelves.


After cutting the vinyl, applying it, and re-staging everything this is what I got and I LOVE IT! Looks totally different and cost me nothing but some vinyl I already had!


Ever heard of Crowdtap???

Awhile back a friend of mine had posted something on Facebook about this thing called Crowdtap. She said she had received a free sample of Old Navy jeans to "try out". Well, as soon as I heard FREE I knew I had to check it out!

According to their site, Crowdtap is a website where you can "get rewarded for ideating and promoting with leading brands, entertainment properties, non-profits and startups." By simply completing some quick and easy questions you earn points that you can redeem for lots of different things such as amazon gift cards or donate them to charity.

So I signed up and have been participating for while now. Last month I got chosen for a special "tester" promotion from Woolite. I received 10 sample of Woolite Extra Dark Care in the mail and was asked to try some and share some with my friends.


I tried it the other day on my dark clothes. It claims to keep your dark clothes lasting and looking like new longer. I think its hard to tell after just a few times whether or not its doing its job but I will keep trying it to see if I can tell a real difference!

If you'd like to join Crowdtap and see what you can earn and see what samples you can try, click this link Crowdtap

Thursday, August 16, 2012

Mean Green Smoothie

I have to admit, I'm a little addicted to this thing I call my "Mean Green Smoothie." I even have my 2 and 5 year old daughters wanting it. I have this smoothie nearly every morning for breakfast and not only is it healthy, but its filling and delicious!
I am less than a year shy of my 30th birthday and on my birthday this year I made a vow that I was going to go into my 30's in the best shape and healthiest I have ever been. So I signed up for a 1/2 marathon in January of 2013 (running has become another passion of mine) and I'm making wiser choices when it comes to what goes into my body. Now don't get me wrong, I still have my splurges (like the gourmet red velvet cupcake I had for dessert for tonight. But I split it with my 2 daughters so it was only 1/3 of a cupcake instead the usual whole cupcake. Again.....not depriving myself, but making smarter choices)

So here it is:
 
I know it doesn't look real appealing, but trust me it taste better than it looks! And here is what's in it:
I put in the blender:
  • a small handful of frozen chopped spinach
  • A large spoonful of greek yogurt
  • A large handful of frozen mixed fruit (I recommend the kind with mango, pineapple, strawberries and peaches)
  • 1 banana
  • Then I fill up the blender with orange juice until it reaches about 1/2 - 3/4 of the way up the fruit/spinach mixture
  • Fill with water until it reaches the top of the mixture
  • Add about 3-5 ice cubes
And that's it! And here are some of the health benefits:
  • Spinach is healthiest foods available! You can't really taste it in the smoothie, but it provides lots of Vitamins K and A, cancer fighting antioxidants, and improves brain function and protects again aging (according to livestrong.com)
  • Greek yogurt is a great source of protein and calcium and less sugar than regular yogurt. Protein fills you up and keeps you fuller longer.
  • And then of course the fruit is full of vitamins and nutrients

So I encourage you to try it. You never know.....you might like it!

Friday, July 20, 2012

Bathroom Buckets

I had the idea to give the girls their own bucket in the bathroom to store their toothbrush, toothpaste and brush in. That way they would each have their own place to store the "necessities" every little girl needs.
 But I didn't want to take up anymore counterspace so I hung them on some cheap hooks. I got these removeable Command hooks that hold up to 3 pounds and you just stick them on the wall and then they are SUPPOSE to remove cleanly off the walls when needed. They were only about $2.75 for 2!
 I got the buckets at Target, but they were boring so OF COURSE I had to add some vinyl to them. I decided on a simple, girly letter. Now they have a place they can reach THEIR stuff.

Thursday, July 12, 2012

Lesson Learned

The older I get the more I realize this saying is true. Now don't get me wrong, I still have my OCD inspired cleaning fests, but the older my girls get the more I realize a mess is just a mess but memories will last a lifetime. (Wow! That sounds like a greeting card!) But it's true! My girls will not remember how clean and sparkly our house was, but they will remember the fun times we have together. And that is why I love this. I put this quote on an acrylic frame, but it would also be great on canvas or a large floating frame. You can get one here.

Bunco, Bunco, Bunco!!

I hosted my Bunco group's monthly Bunco get together this week and we had a lot of fun (as always!!). When I knew I was hosting July's get together my wheels started turning as to what "prizes" I was going to give away. I immediately knew I wanted to do some kind of wine glass. This is what I decided on:
I filled them with cash and I think they were a hit!

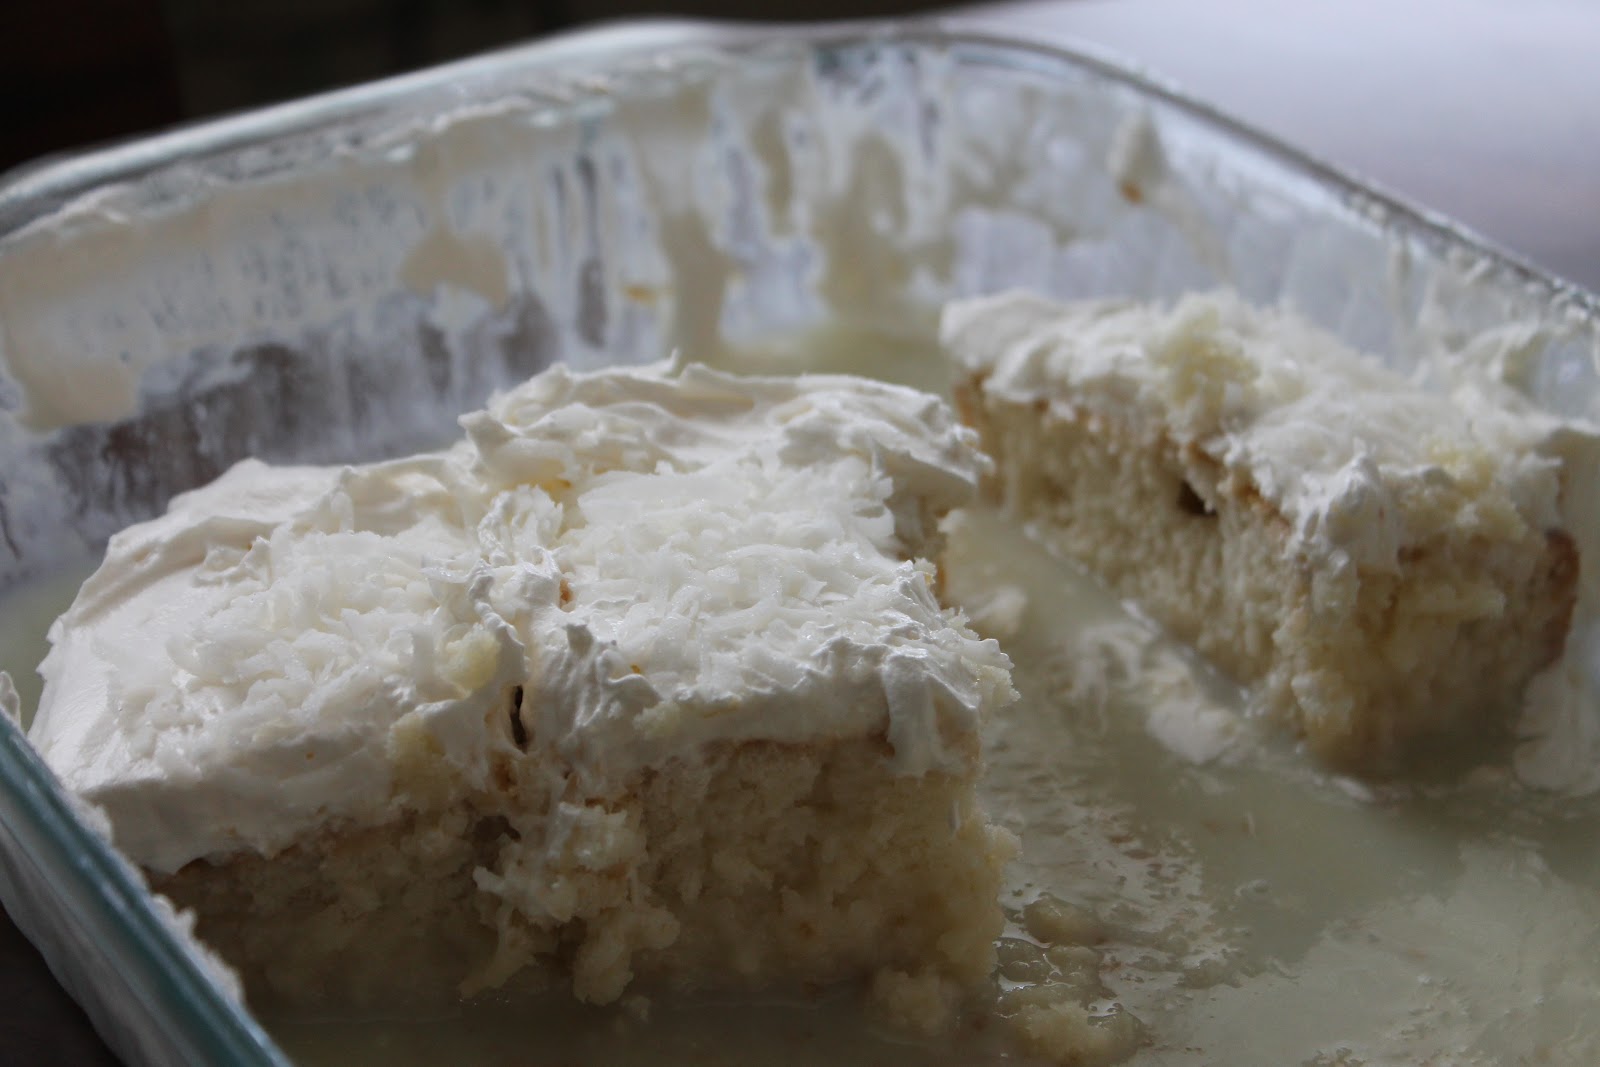
My Bunco girls also wanted the recipe for the dessert I made. Its a coconut poke cake and is one of my FAVORITE desserts! Its really easy to make too! Here is what you will need:

White Cake Mix
14 oz. can of Sweetened Condensed Milk
Cream of Coconut
8 oz. tub of Cool Whip (NOT SHOWN)
Coconut Flakes

First, make the white cake in a 9x13 pan as directed. Once it has cooled, I use a kabob stick to poke holes all throughout the cake. (You could use anything to poke the holes). Then mix the can of sweetened condensed milk with half of the cream of coconut (so about 10 oz.). Once mixed, pour over the cake.
I used about 3/4 of the 21oz. bottle of cream of coconut and it made a little too much. The liquid will not completely soak into the cake, but I think 1/2 of the bottle of cream of coconut would have been a better amount. I like to do this part in advance and let the cake sit like this for an hour or more so that the liquid really gets soaked into the cake. Then spread the tub of Cool Whip over the top of the cake and sprinkle with the coconut flakes until lightly covered. Keep refrigerated.

I forgot to take a picture of the finished product, but I think everyone liked it because this is what was left of it!

This cake is so moist and delicious. A great recipe for the summer!
Enjoy!!

Sunday, July 1, 2012

The playroom gets some color!

The room used probably the most in our house these days are the girls' playroom. They are 5 and almost 3 now and love to play dress-up, Mommy & Baby, restaurant chef, and have tea parties. We've lived in our house now for almost 2 years and it was time to finally add a little color in there. I was going to paint, but decided to start with some curtains.
I own a sewing machine but don't use it very much. I am not a pro, but when it comes to sewing a couple of straight line hems I feel I can accomplish that. Plus I'm too "frugal" to pay $100 for curtains and I just never could find exactly what I was looking for. So one day I saw an outfit on a website's facebook page and knew that was the fabric I wanted. It was bright, colorful and fun. So I went on a google search. What I found was this:
Its by Mchael Miller and called Ooh La La Bouquet De Fleurs Lime. So I placed an order from fabric.com and in a couple of days it was on my doorstep. It was EXACTLY what I was looking for!
This is what the playroom started as:
(Sorry for the dark picture)
It was plain-jane with a few pictures/decor on the wall but that was it. (I'll post soon on how to make those letters you see in the picture). So I started out by ironing my fabric.

I ironed out all of the wrinkles and then ironed a thin, even strip on the side and then folded it over again to make about a 1/2-3/4" hem on both sides. I sewed both sides down with my sewing machine.
Then at the bottom I ironed down a small strip and then folded it over and ironed it down to make a 1" hem at the bottom. Sewed that down, then started on the top where the curtain rod would go through. After ironing down about 1/2" of the fabric over I then folded it over and ironed it down at 4 inches. This would be plenty of room for my curtain rod to slide through. I sewed it down and then that panel was ready to go. Then it was on to panel #2. The hardest part was the time it took to get all of the edges ironed down. The sewing part was actually the easiest. And now the playroom looks like this and the girls LOVE IT (and so do I)!!


Wednesday, June 6, 2012

Wedding Season

Its wedding season and I have been busy with wedding gifts lately. (These also make great anniversary presents) A favorite of mine is this floating acrylic frame. Its really simple and elegant.
Another popular item at Kitty Kate are the Personalized Plates. I've got this cute polka dot plate with a swirly letter:
And then a square plate with this more elaborate vine-like letter.

Friday, May 11, 2012

$42 Bathroom Makeover!

When I saw this on Pinterest I knew I had to have it in our half bath!
So, I searched high and low for the right font, perfect swirls and came up with this in the picture above. But before I could put it on the walls I wanted to "spruce" the whole bathroom up a little bit from this:
The walls were that boring builder-grade beige color. And the only decor I had in there was this one small picture on the wall.

I bought the picture at Kirkland's on clearance a long time ago and really like it so that kind of became my inspiration. So with the vision of my quote "Wash Your Hands {Mom Said SO}" on the wall and my picture in mind, I began with my paint color. I wanted a gold color to go with the golden tones in the picture and came up with Better Homes and Gardens' "Naples Yellow". Its a little more yellow and less the golden brown color I was going for, but its growing on me. I moved my zebra votive and black iron magazine holder from my living room and added a $5 basket I found at Garden Ridge to store the extra toilet paper in. I had a lotion bottle that I took the label off of and and made a vinyl label for it. I attached a ribbon to it and it turned out like this:
The lotion bottle, zebra votive and picture all sit on a black shelf I found pretty cheap at Michael's and now my half bath looks like this:

So much better than the boring-ness it was before. And all it cost me was $25 for a gallon of paint (I bought a whole gallon because I wanted to use this gold color in my dining room too), $12 for the black shelf and $5 for the basket! A total of $42!!